06Babyproofing by Room & Stage
Babyproofing by room and by stage: start where the kid is, not where the catalog is
Enter from either door. If you know the room, we walk it in the order a crawler meets the hazards. If you know the stage, we tell you what to buy first, what can wait and what to skip.
15 guides and picks in this section · How we choose

We earn a commission if you buy through our links, at no extra cost to you. It never decides the ranking: the method is published. Affiliate disclosure
Start here
Read this first

The babyproofing checklist: every room, in the order the injury data says to do it
A room-by-room, injury-ordered checklist for the whole house, with every row linked to the guide that explains the standard and the ranking that picks the product. Print-friendly.
Read it firstFeatured pick: Hangman Anti-Tip Kit (TK-400)
#ad · Price set by Amazon · Affiliate disclosure for the link to Hangman Anti-Tip Kit (TK-400)
Best picks
Ranked picks for this hazard
Best picks
Best babyproofing kits
Three kits inventoried piece by piece: an 80-piece screw-in set, an all-adhesive 54-piece set for renters, and a kitchen-and-outlets subset, plus the anchor and gate you buy separately.
Top pick: Baby Proof Me Complete Care Safety Kit (54 piece) · 3 picks
Check price on Amazon#ad · Price set by Amazon · Affiliate disclosure for the link to Baby Proof Me Complete Care Safety Kit (54 piece)
Best picks
Best babyproofing products
The category winners from across the site in one ranked list: gate, cabinet locks, window guard, corner guards, stair gate, anchor, outlet plate, edge guard, strap lock and stove knob covers.
Top pick: Regalo Easy Step Safety Gate (Model 1160) · 10 picks
Check price on Amazon#ad · Price set by Amazon · Affiliate disclosure for the link to Regalo Easy Step Safety Gate (Model 1160)
Best picks
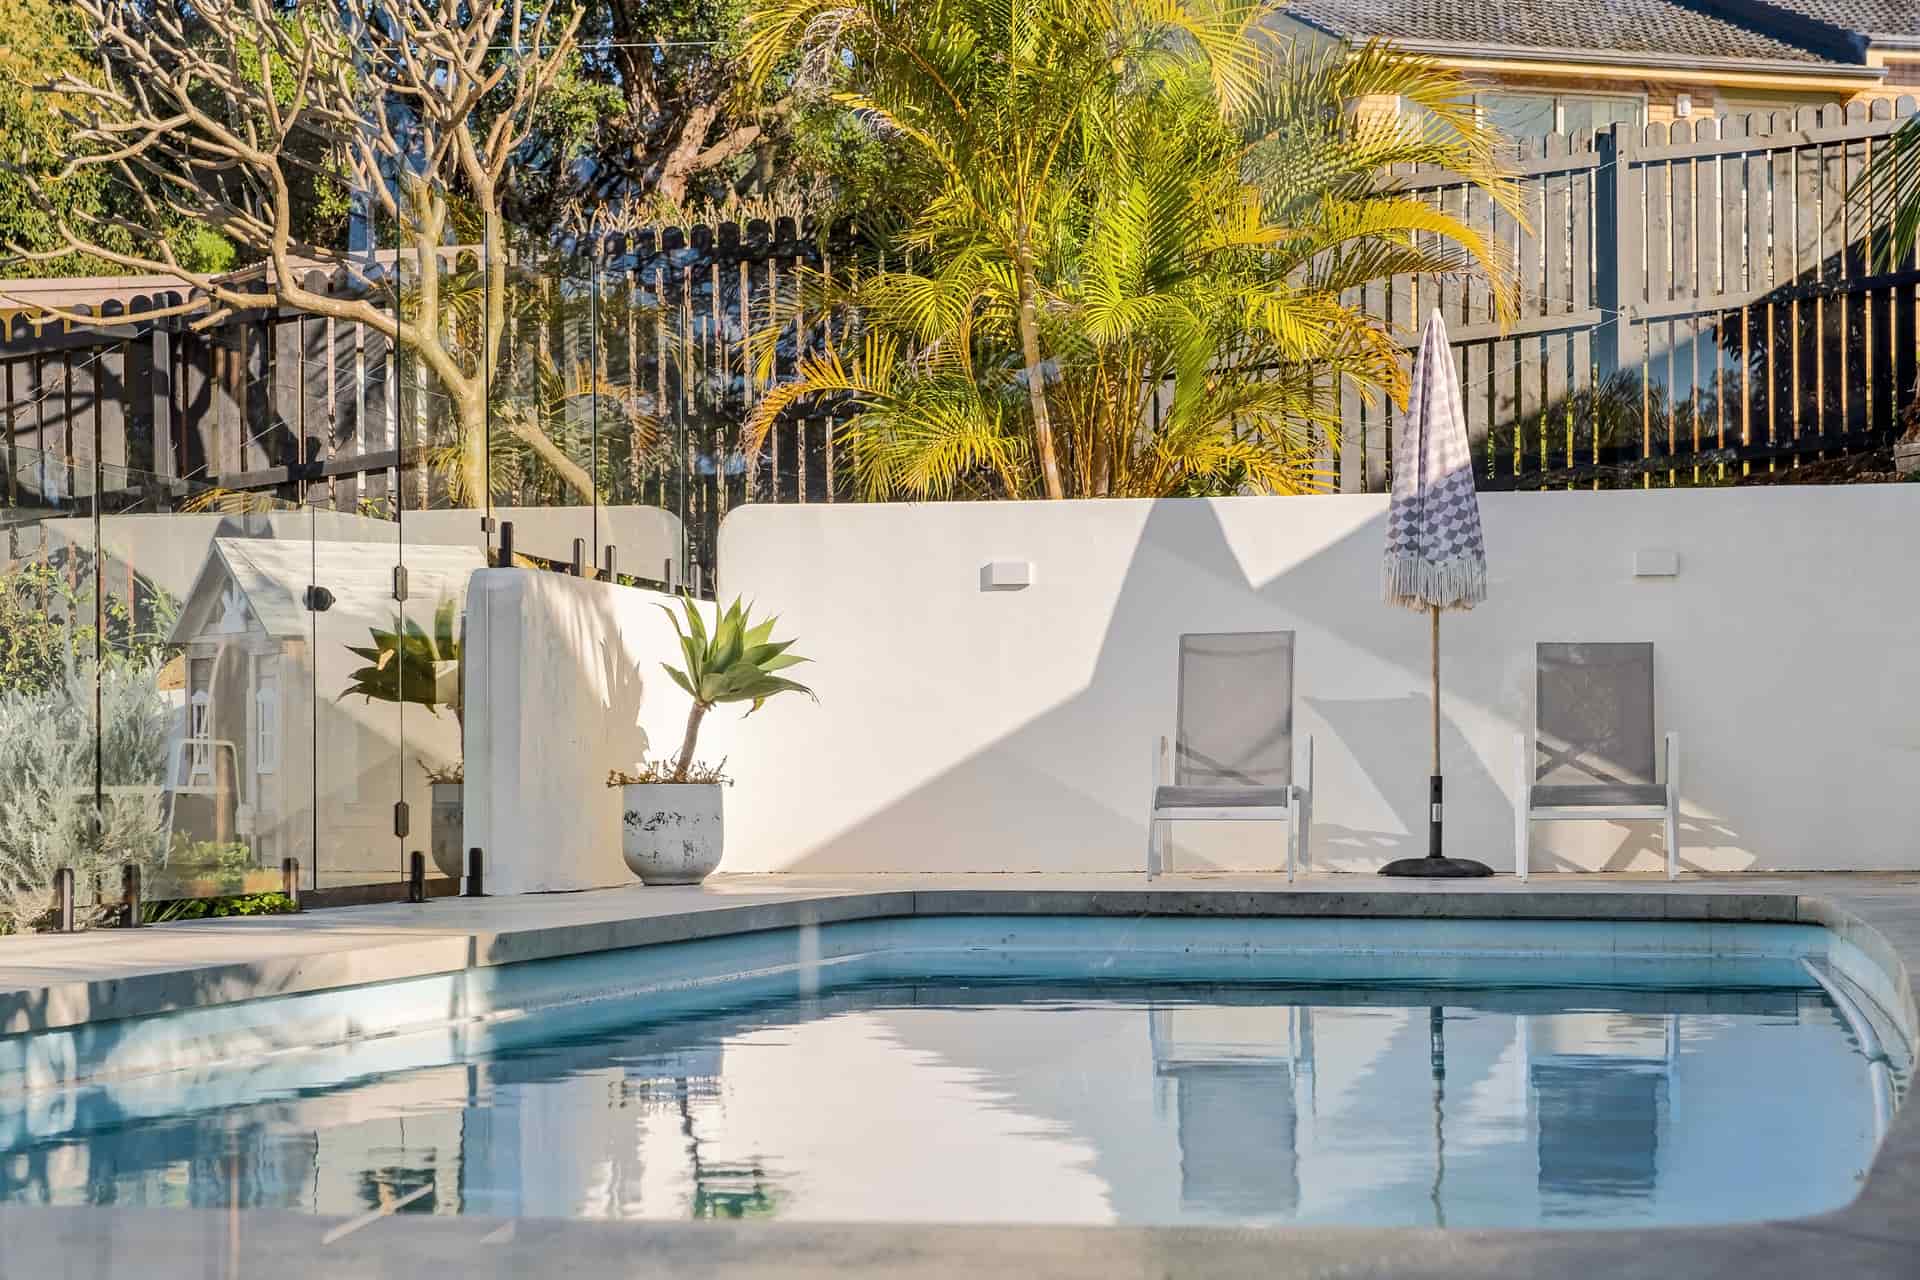
Best removable pool fences
Two removable mesh fence systems and the self-closing gate that completes them, ranked with ASTM F2286 first, plus the height-versus-code question and what the deck drilling really involves.
Top pick: WaterWarden Pool Safety Fence (4 ft x 12 ft) · 3 picks
Check price on Amazon#ad · Price set by Amazon · Affiliate disclosure for the link to WaterWarden Pool Safety Fence (4 ft x 12 ft)

Gift guide
Best babyproofing gifts
Seven giftable babyproofing products ranked on a gift weighting: the Regalo doorway gate, Roving Cove corners, Safety 1st magnetic locks, the Roving Cove edge guard, the Hangman anchor, the Skip Hop whale and the Baby Proof Me kit.
Top pick: Regalo Easy Step Safety Gate (Model 1160) · 7 picks
Check price on Amazon#ad · Price set by Amazon · Affiliate disclosure for the link to Regalo Easy Step Safety Gate (Model 1160)
Gift guide
Babyproofing gifts under $50
Eight babyproofing gifts with a maker list price under $50, ranked on the gift weighting: corners, pinch guards, edge guard, anchor kit, strap locks, power-strip box, stove knob covers and the adhesive kit.
Top pick: Roving Cove HeftyFit Corner Protectors (8 large) · 8 picks
Check price on Amazon#ad · Price set by Amazon · Affiliate disclosure for the link to Roving Cove HeftyFit Corner Protectors (8 large)
What to do first
Read the babyproofing checklist, which is the whole house in one list, ordered by the injury data rather than by room: furniture anchors and the TV, then the top of the stairs, then the water (bath, toilet, pool), then poisons, then outlets and cords, then windows and blind cords, then the fireplace, then the corners and doors. Every row links to the page that ranks the product. If the baby is not moving yet, the second read is when to start babyproofing, which puts each job on a timeline; the drilling jobs belong to the months before crawling. If the baby is already crawling, skip to babyproofing for a crawling baby and do it tonight in the checklist's order.
How this section divides
The five hazard hubs each cover one product category. This section covers everything that cuts across them, in four kinds of page. Stage guides: 6 months and crawling, each listing what a child of that age can actually reach. Room guides: the bathroom, the living room, the garage and the pool, plus the kitchen, which lives in its own hub. Situation guides: the apartment or rental, where the deposit is the constraint. And the cross-category rankings: best babyproofing products, which re-scores every hub winner on one weighting; best babyproofing kits, with the honest inventory of each box; best removable pool fences and pool fence vs alarm vs net, because drowning is the leading cause of death for children one to four and the CPSC counts about 376 pool and spa drownings a year under 15; and the two gift lists, gifts for new parents and gifts under $50.
What the whole job costs
Less than most people expect, if the money goes where the injuries are. At the makers' list prices on the day we checked: an anchor kit per dresser at $10 to $15, a hardware stair gate at $70 to $80, a certified doorway gate at about $51, a 12-lock magnetic set at about $30, a sliding outlet plate or a bag of 36 inserts for under $10, corner guards at $10, a window guard at $90 to $115 per window that needs one, and a pool fence section at about $116 per 12 feet. A three-bedroom house with stairs and no pool is a few hundred dollars at list; the pool adds more than the rest combined. The kits are the cheapest entry and the most misleading one, because no kit includes the anchor or the gate, which are the two products with deaths behind them. Where a product on this site has no maker price on file, we say so rather than guess; Amazon sets its own price and the buttons show it.
The common mistake
Babyproofing by room instead of by hazard. The room approach starts in the nursery, which is the safest room in the house, and gets to the dresser in the living room and the stairs a month later. The hazard approach starts with tip-overs, stairs and water because that is where the CPSC's death counts are, and gets to the corner guards last. The second mistake is waiting for the first crawl to start: the jobs that need a drill are far easier with a baby who cannot yet move, which is the whole argument of the 6-month guide. The third is treating a kit as the job. The fourth, for renters, is assuming that no-drill means nothing can be done, when nearly everything can. And the fifth is skipping the pool because the child is "never out there alone"; the CPSC's drowning data is about children who were never out there alone, either, until they were. If you want a professional, the IAFCS keeps a directory of certified childproofers, and a good one will tell you the same order this page does.
Head to head
Comparisons

Head to head
Pool fence vs alarm vs net
A mesh fence with ASTM F2286 stated, a pool alarm certified to ASTM F2208, and a DIY safety net compared on what each actually does, when each fails, and the layered order the CPSC recommends.
Featured: WaterWarden Pool Safety Fence (4 ft x 12 ft)
Check price on Amazon#ad · Price set by Amazon · Affiliate disclosure for the link to WaterWarden Pool Safety Fence (4 ft x 12 ft)
Guides
Guides: how to install it, and whether you need it
Guide
Babyproofing for a crawler
The crawling-stage plan: the knee-height walk, the six hazards a crawler meets first, room by room, and the four products that cover the top of the injury list.
Featured: Hangman Anti-Tip Kit (TK-400)
Check price on Amazon#ad · Price set by Amazon · Affiliate disclosure for the link to Hangman Anti-Tip Kit (TK-400)

Guide
Babyproofing at 6 months
The 6-month plan: what a sitting, rolling baby can actually reach, the four drilling-and-screwing jobs to finish before crawling (anchors, TV, outlets, the top-of-stairs gate), and the crib and cord rules that apply today.
Featured: Hangman Anti-Tip Kit (TK-400)
Check price on Amazon#ad · Price set by Amazon · Affiliate disclosure for the link to Hangman Anti-Tip Kit (TK-400)
Guide
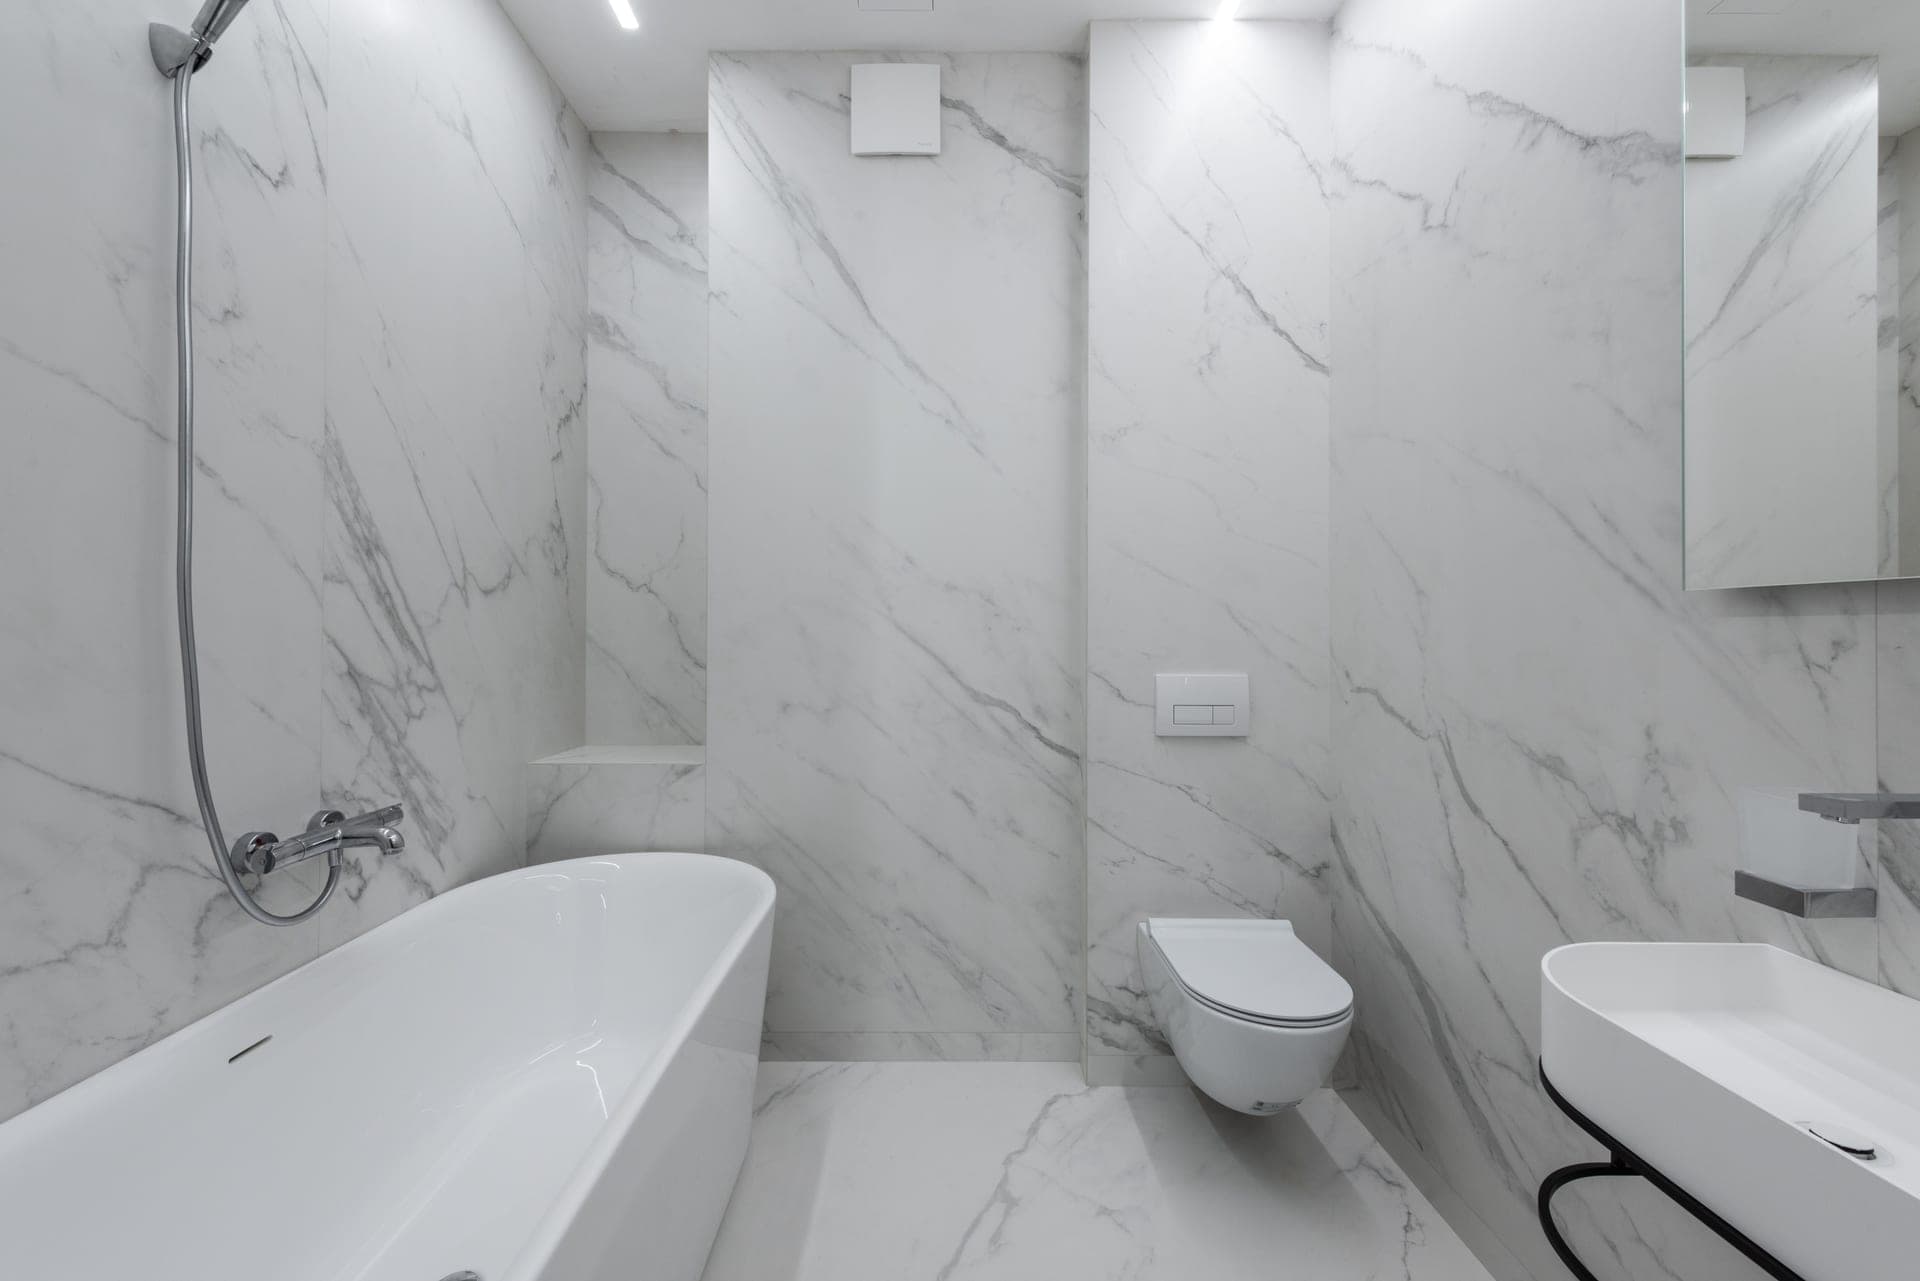
Babyproofing the bathroom
The bathroom in five hazards: the door, the toilet, the tub and the water heater, the medicine and cleaners, and the small things, with three toilet locks and a spout cover as the picks.
Featured: Safety 1st OutSmart Toilet Lock
Check price on Amazon#ad · Price set by Amazon · Affiliate disclosure for the link to Safety 1st OutSmart Toilet Lock
Guide
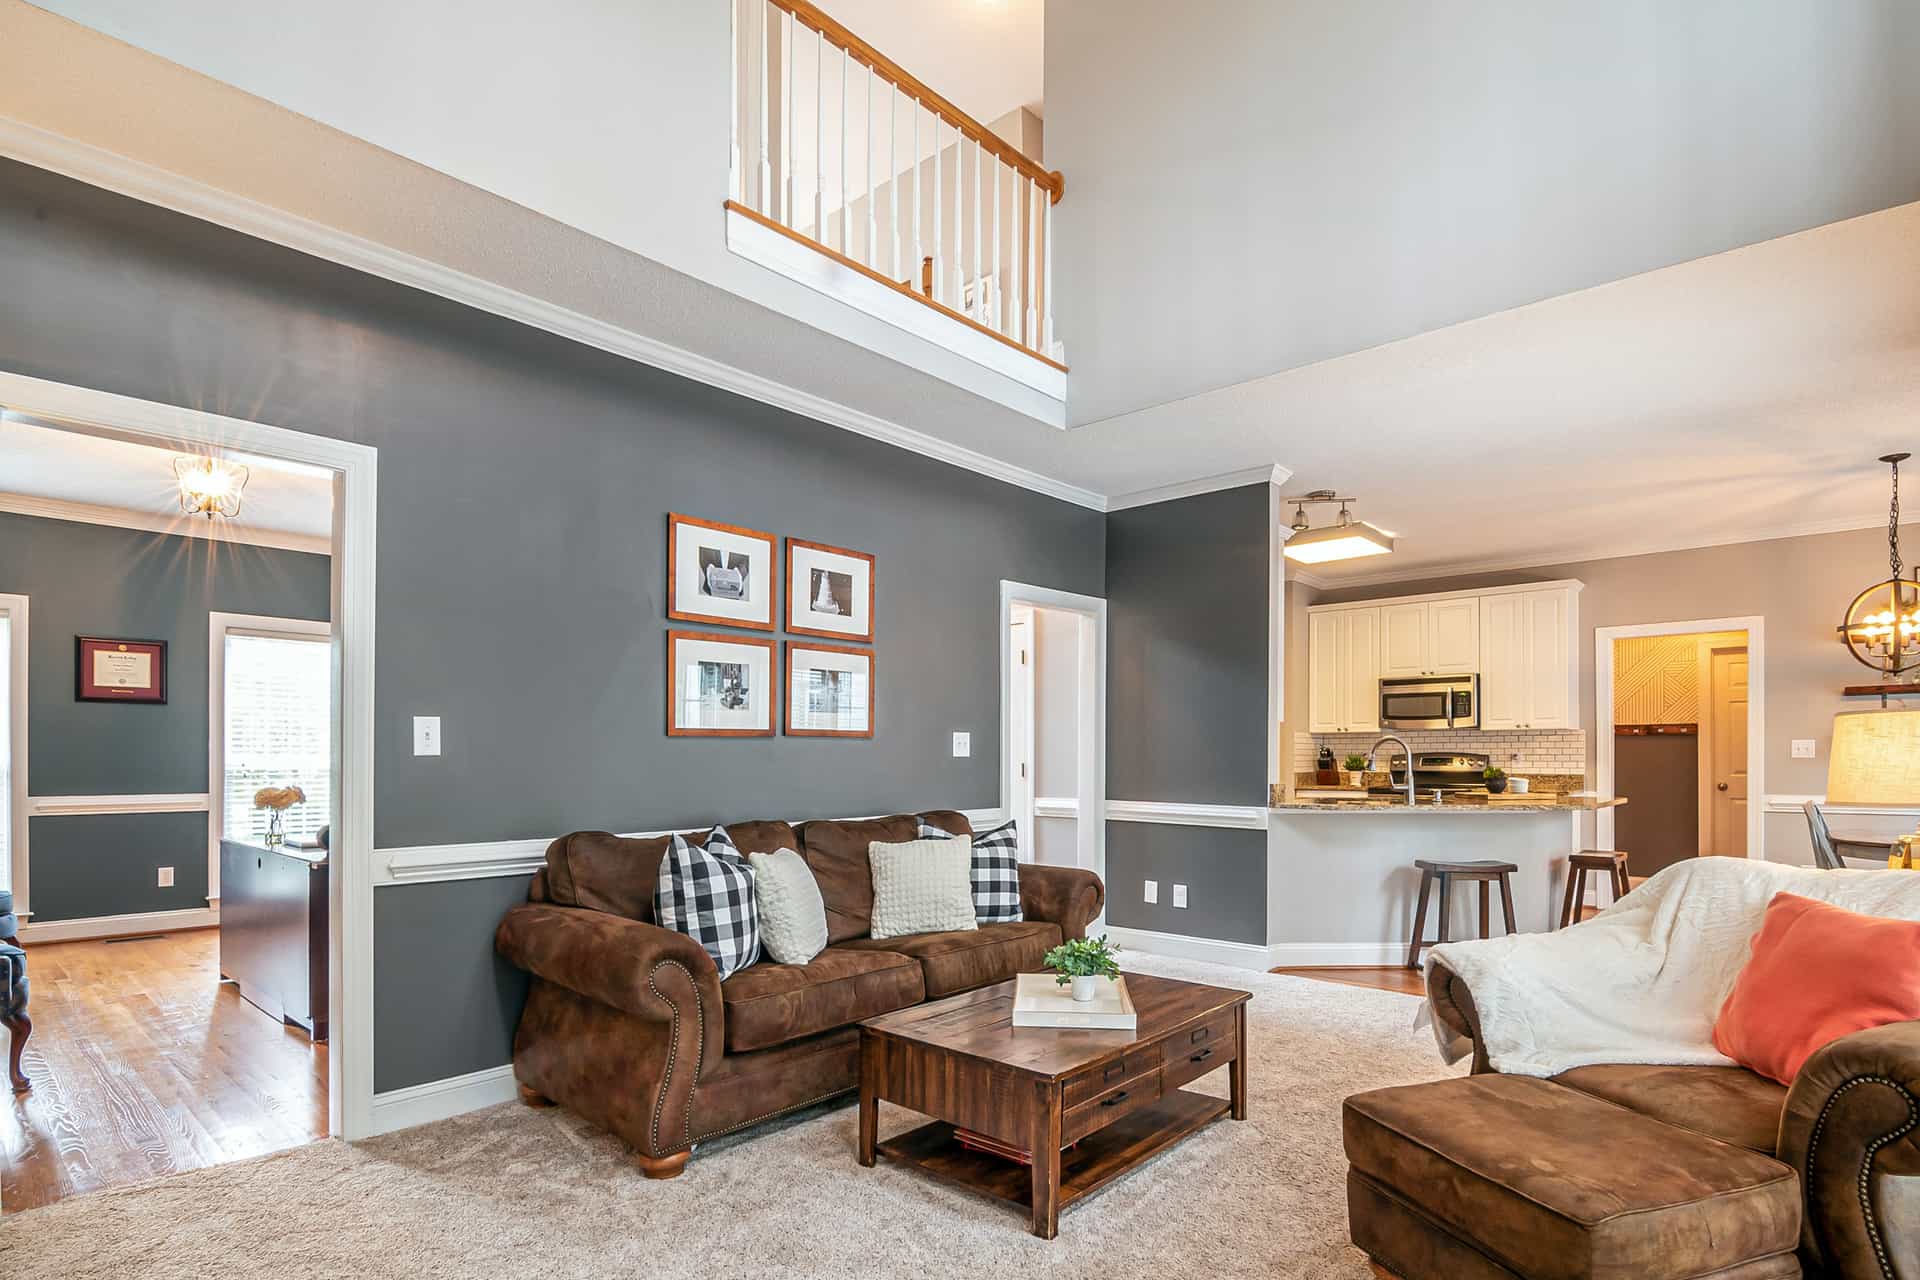
Babyproofing the living room
The living room in seven stops: TV and stand, bookcase, coffee table and corners, fireplace, cords and outlets, doors and pinch points, and the shelves, with an anchor, a TV strap, corner guards and pinch guards as the picks.
Featured: Hangman Anti-Tip Kit (TK-400)
Check price on Amazon#ad · Price set by Amazon · Affiliate disclosure for the link to Hangman Anti-Tip Kit (TK-400)
Guide
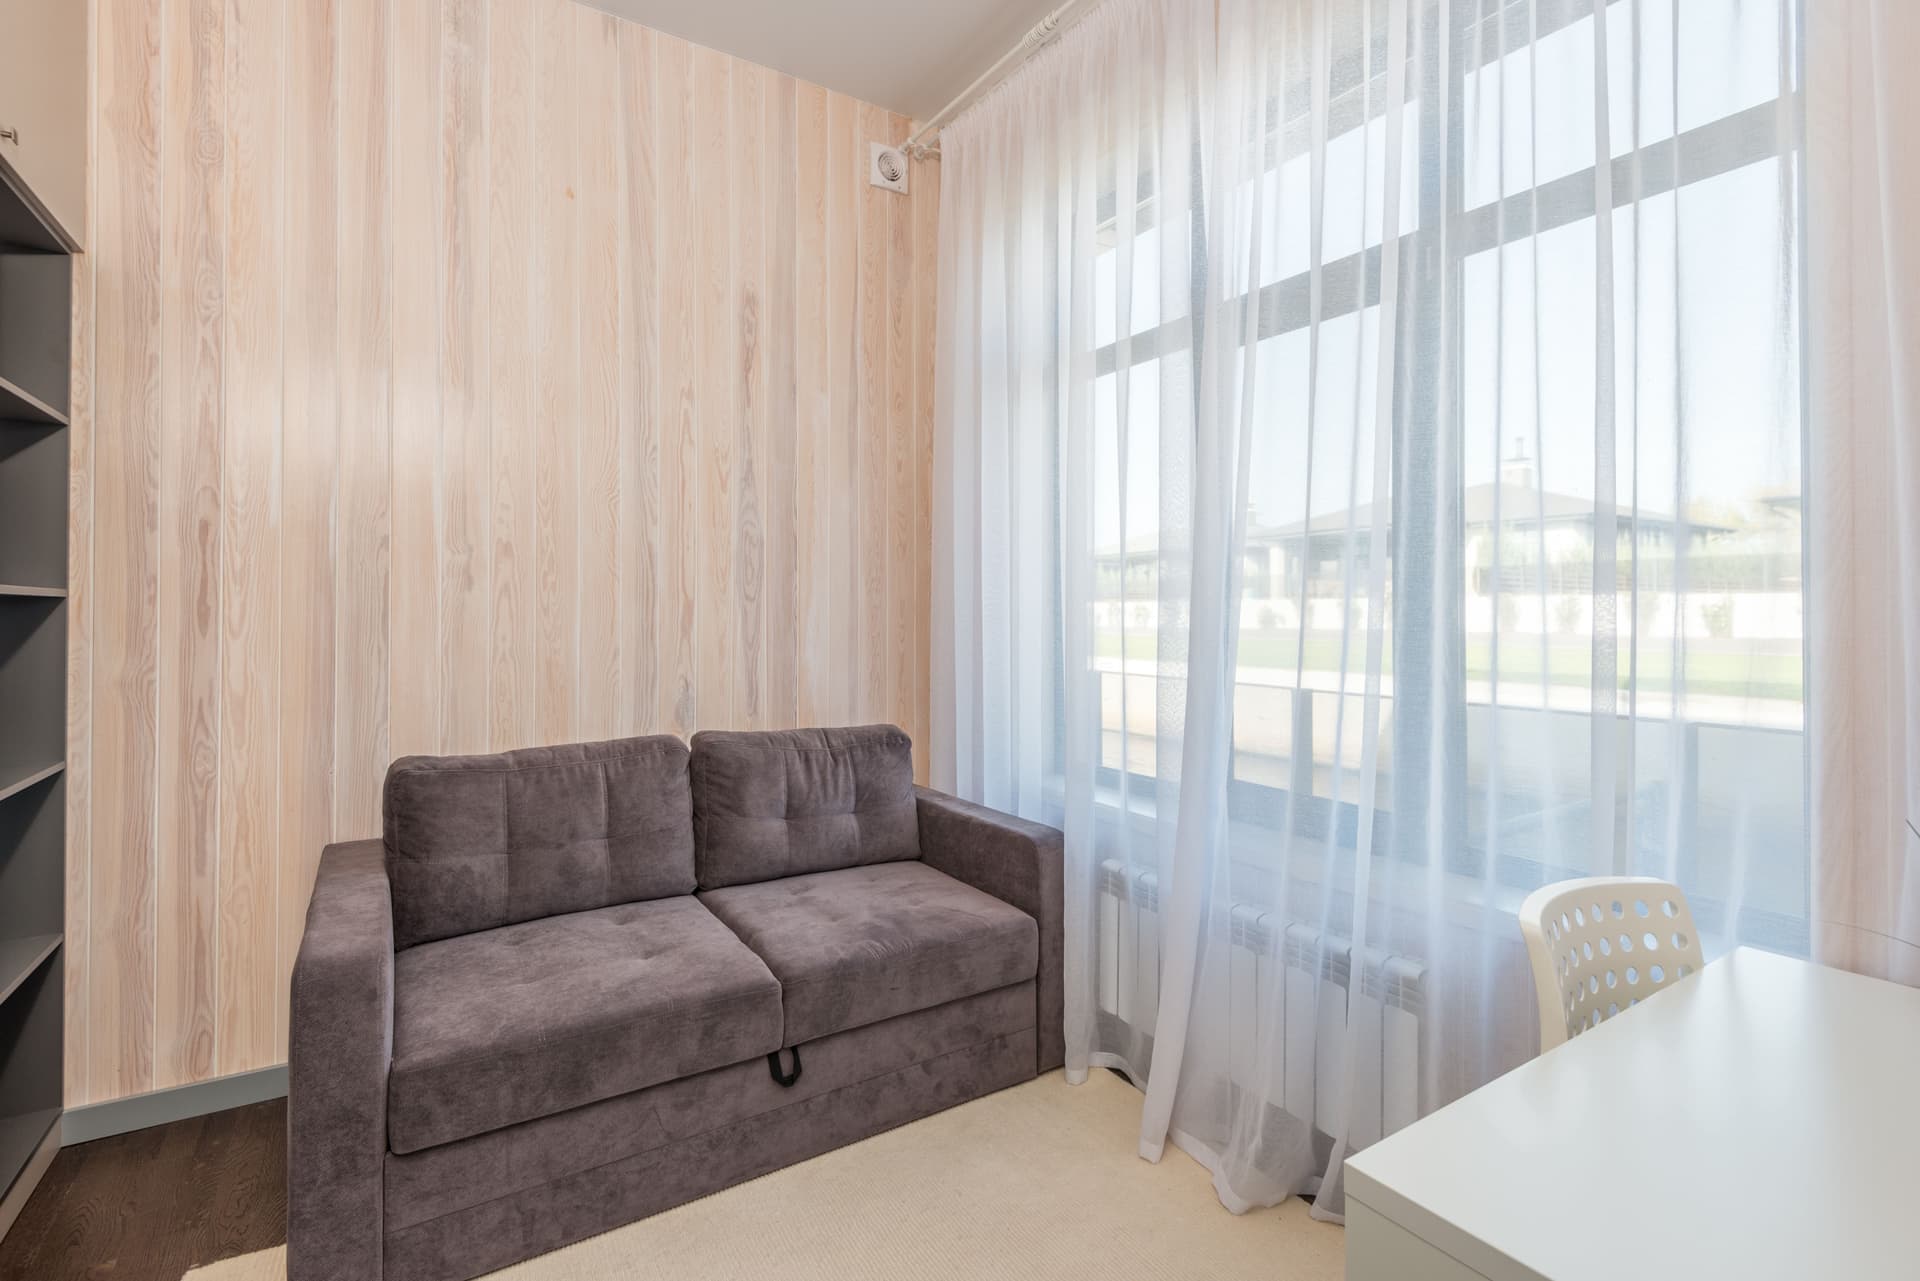
Babyproofing a rental
The rental plan room by room: what is genuinely no-drill (gates, locks, outlets, corners), what is a landlord question (anchors, the stair gate), the adhesive TV strap, window-guard laws in some cities, and clean removal at move-out.
Featured: Regalo Easy Step Safety Gate (Model 1160)
Check price on Amazon#ad · Price set by Amazon · Affiliate disclosure for the link to Regalo Easy Step Safety Gate (Model 1160)
Guide
How to childproof a pool
The pool plan in five layers: fence and gate, door alarms, pool alarm, covers and ladders for above-ground pools, and the adult water watcher, with the numbers and the picks.
Featured: WaterWarden Pool Safety Fence (4 ft x 12 ft)
Check price on Amazon#ad · Price set by Amazon · Affiliate disclosure for the link to WaterWarden Pool Safety Fence (4 ft x 12 ft)

Guide
Childproofing the garage
The garage in six jobs: the house door (cover, lock, alarm), the garage door's reversal test, chemicals and tools up and locked, the car and its keys, the chest freezer and buckets, and the CO alarm inside the house.
Featured: Wappa Baby Door Knob Cover Dual-Lock (4 pack)
Check price on Amazon#ad · Price set by Amazon · Affiliate disclosure for the link to Wappa Baby Door Knob Cover Dual-Lock (4 pack)

Filed elsewhere, written for you
Also worth reading
Baby Gates & Stair Safety
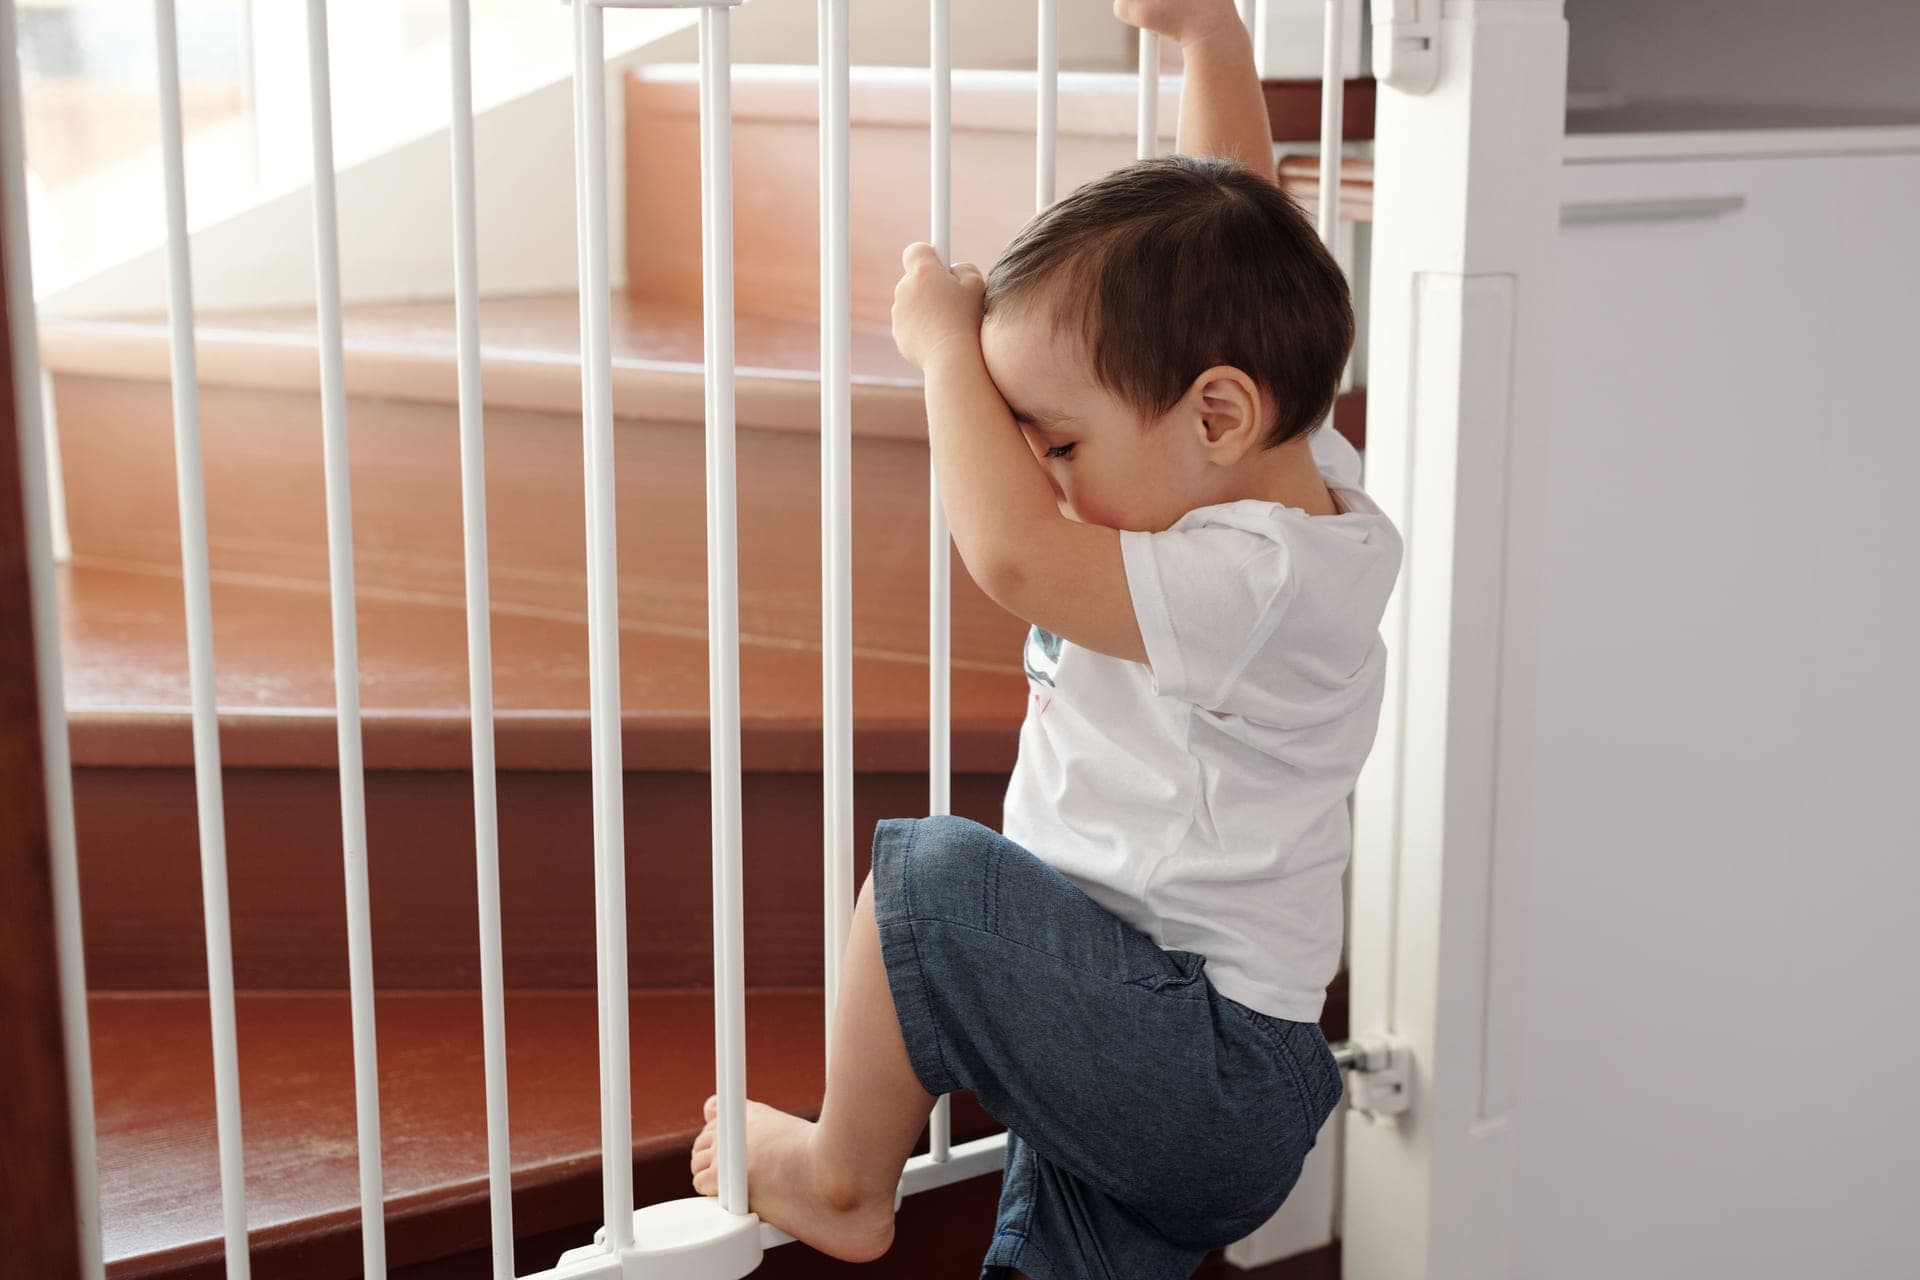
Best baby gates
Seven gates across both mount types, led by Regalo's certified Easy Step for doorways and the Cardinal SS-30 and Toddleroo Easy Swing & Lock for stairs.
Top pick: Regalo Easy Step Safety Gate (Model 1160) · 7 picks
Check price on Amazon#ad · Price set by Amazon · Affiliate disclosure for the link to Regalo Easy Step Safety Gate (Model 1160)
Cabinet Locks & Kitchen Safety
Best cabinet locks
Eight cabinet locks across all five types, led by the only magnetic set whose maker states JPMA certification, with the no-drill, no-adhesive and screw-in options ranked beside it.
Top pick: Safety 1st Secure-to-Explore Adhesive Magnetic Locks (20 locks, 2 keys) · 8 picks
Check price on Amazon#ad · Price set by Amazon · Affiliate disclosure for the link to Safety 1st Secure-to-Explore Adhesive Magnetic Locks (20 locks, 2 keys)
Furniture Anchors & Tip-Over
Best furniture anchors
Five anti-tip anchors from an all-steel cable kit to a no-drill TV strap, ranked with the CPSC's stud rule in mind and the load ratings each maker actually publishes.
Top pick: Hangman Anti-Tip Kit (TK-400) · 5 picks
Check price on Amazon#ad · Price set by Amazon · Affiliate disclosure for the link to Hangman Anti-Tip Kit (TK-400)
FAQ
Questions people ask
Where do I start babyproofing?
When should I start babyproofing?
How much does babyproofing a house cost?
Is a babyproofing kit enough?
Ask us
Got a hazard we haven't covered?
Tell us the room, the opening or the product you are stuck on. Reader questions decide what we research next. Email mike@blackironathletics.com or use the contact form.